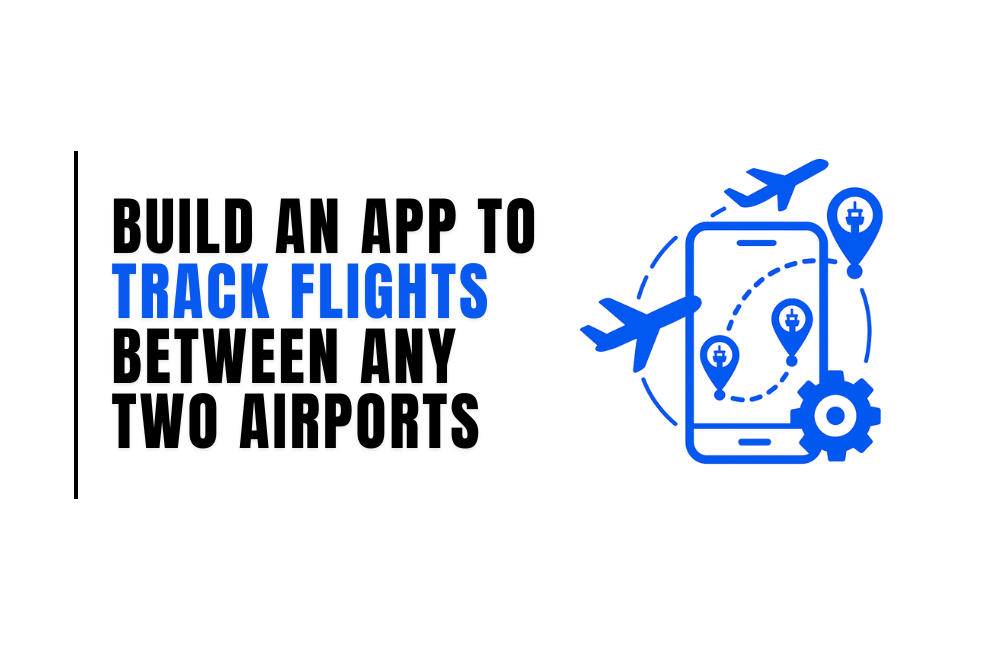
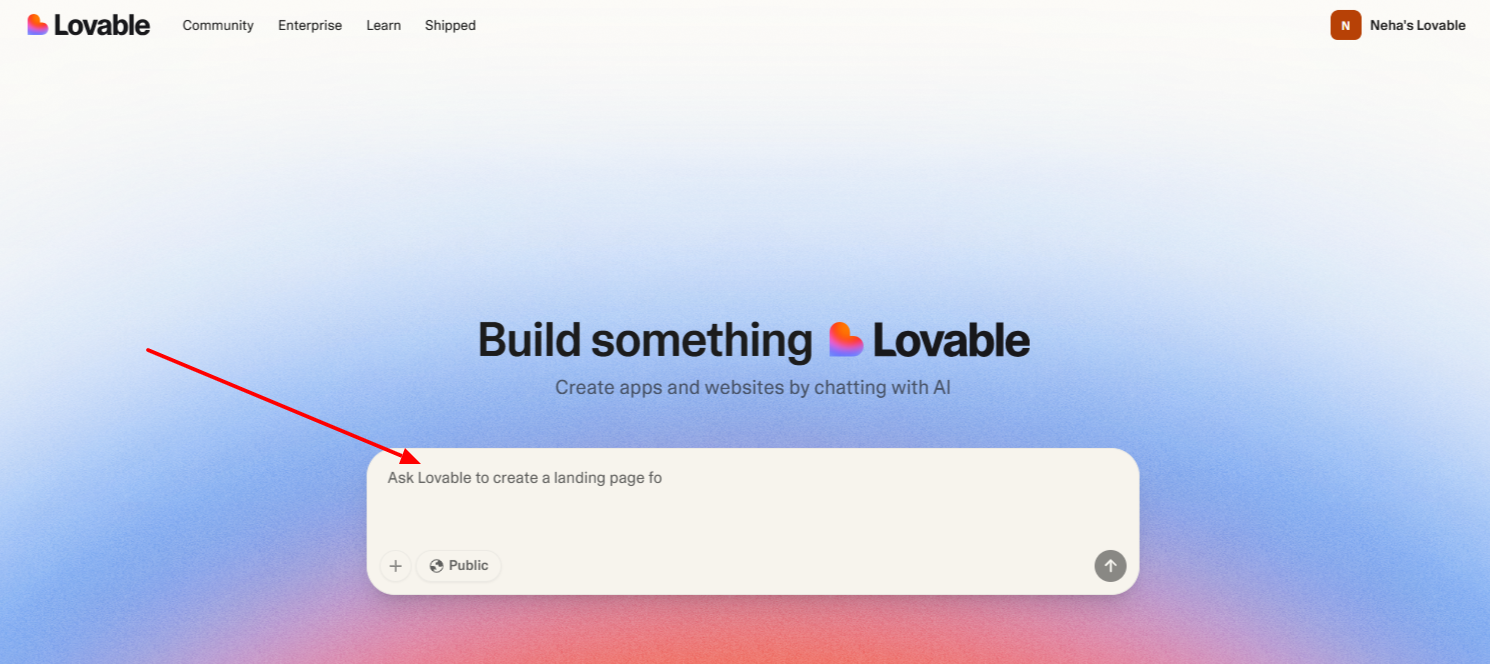
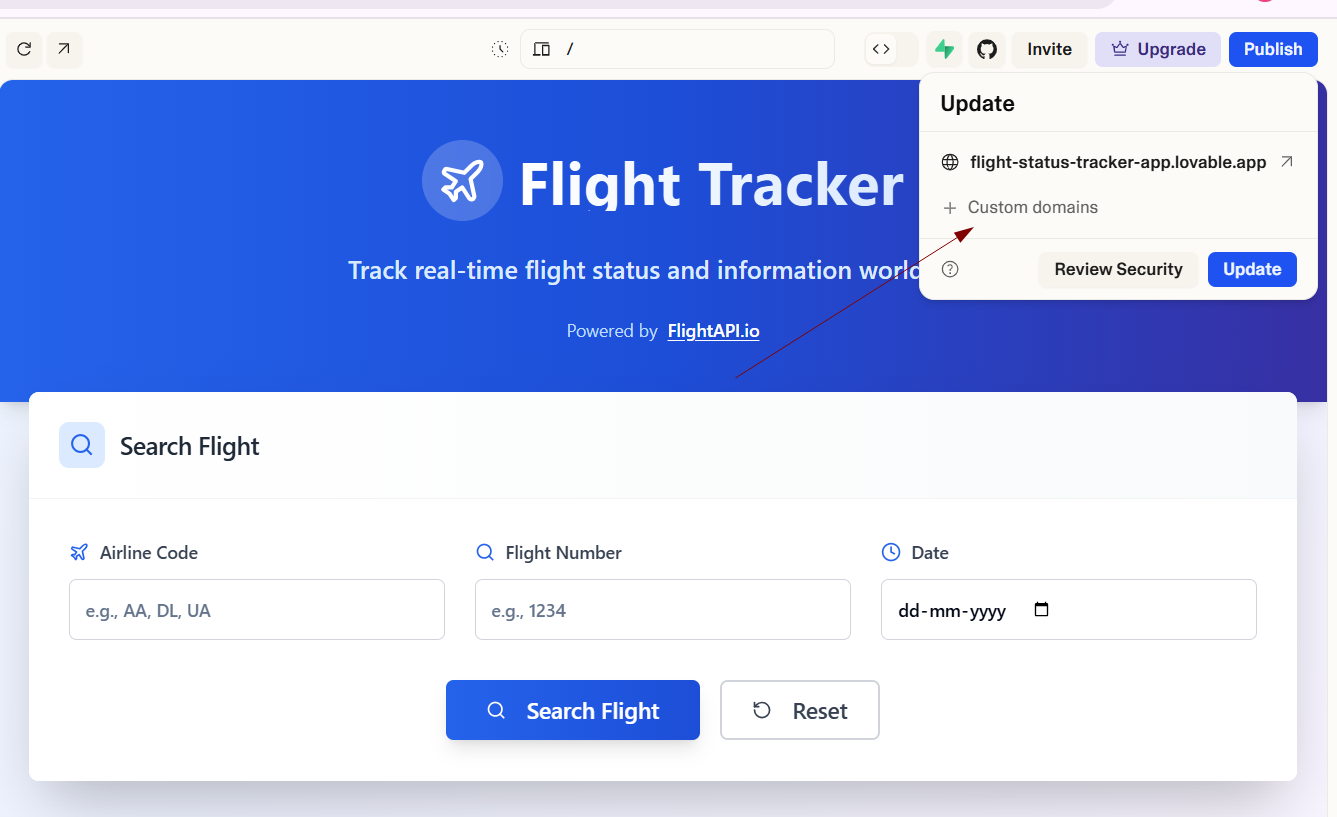
You need to track flight status. Maybe for your travel tech company, maybe for a client of your travel agency who needs updates by the minute, or maybe you’re a developer who’s just tired of overcomplicating simple things. What you’re not looking for is weeks of coding, a PhD in APIs, or apps that never quite do what you want. Here’s the easy path. In this guide, you’ll build a real-time flight tracker using a Flight Tracking API and Lovable. No mess. No headaches. Just a straightforward, step-by-step tutorial to create a flight tracking tool. Let’s get started. What You Need Step 1: Grab a Flight Tracking API Key Go to FlightAPI and create a free account. You’ll get 20 free credits as soon as you sign up. Don’t forget to verify your email. After you log in, you’ll see your API key on the dashboard. You’ll need to copy this key and add it into the Lovable app prompt (coming up in the next step). If you want to learn more about how the API endpoints and the response, check out the Flight Tracking API docs. Step 2: Make Your Lovable Account Go to lovable.dev and sign up. On the free plan, you get 5 free credits every day (up to 30 a month). Perfect for building and testing without opening your wallet. Step 3: Copy and Paste This Prompt into Lovable This is where things get fun. No need to overthink it. Copy this whole prompt and drop it into Lovable: Before you paste the prompt, make sure you swap out {API_KEY} with your own API key from the FlightAPI dashboard. Just copy your key, and replace the spot in the link that says {API_KEY}. This is how Lovable will connect to your FlightAPI account and get real flight info. Copy the prompt: Replace the API key in the URL with your own FlightAPI.io key Step 4: Test the Flight Tracker Now that Lovable has built your flight tracker, it’s time to see it in action. Just enter: Hit search, and you’ll see real flight info pop up right away—airport, terminal, gate, times, and more. Your tracker is ready to use. Watch it in action ⬇️ Want to change something? Maybe update the title or tweak the look? Just tell Lovable what you want to change right in the chat. It’ll handle it for you. Once you’re happy with how everything looks, hit publish. You’ll get a link to your tracker that you can share or use anywhere. Even better, you can put this tool on your own custom domain if you already have one. Final Words FlightAPI.io makes flight data easy for everyone, developers, non-coders, and travel businesses. It’s simple to use, and there are even more APIs to explore for things like prices, schedules, and more. Sign up for the free trial and see what you can build! Explore More Tutorials


,March 24, 2026
The airline industry is constantly evolving, but the data associated with it doesn’t always keep pace. Delay figures, API market...