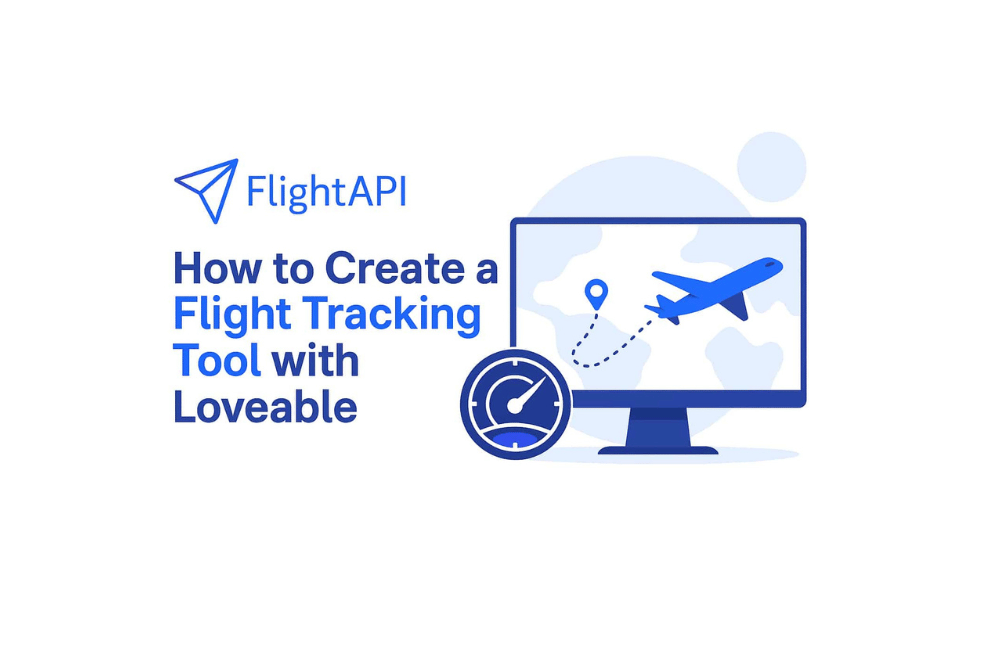
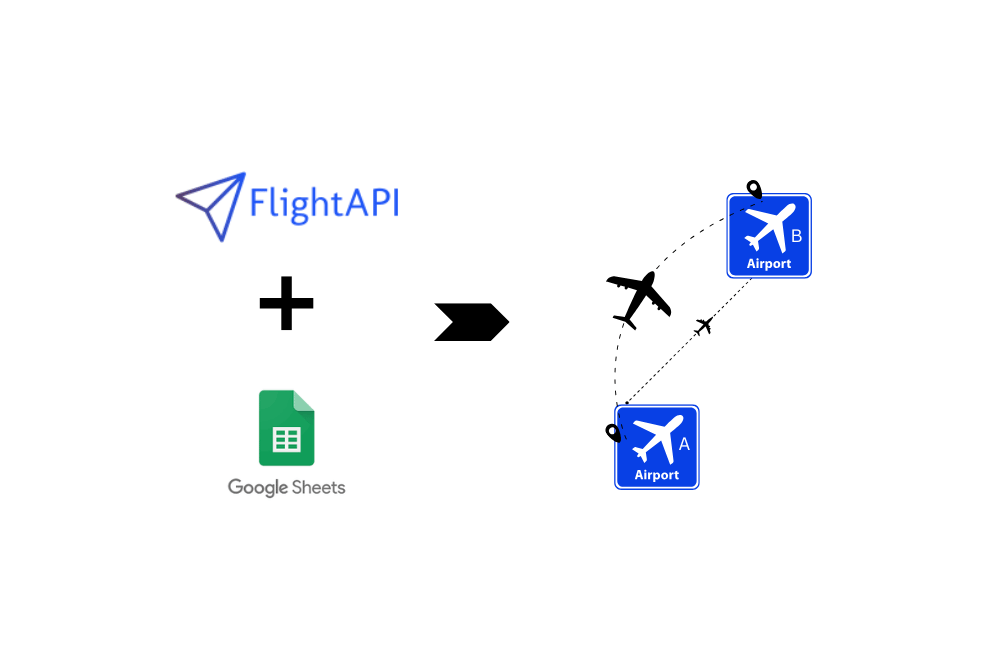
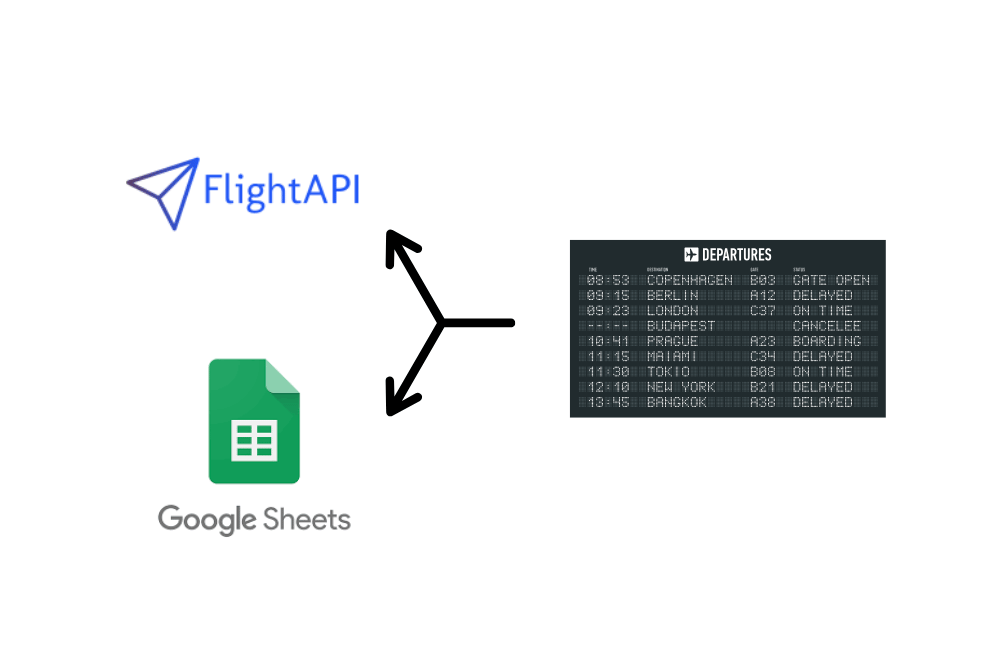
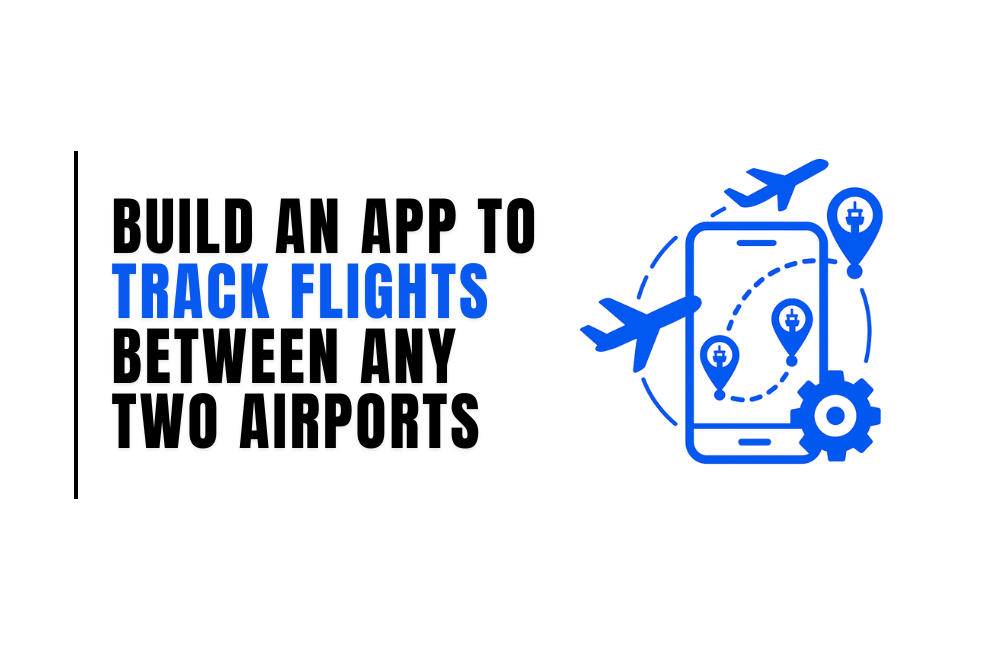
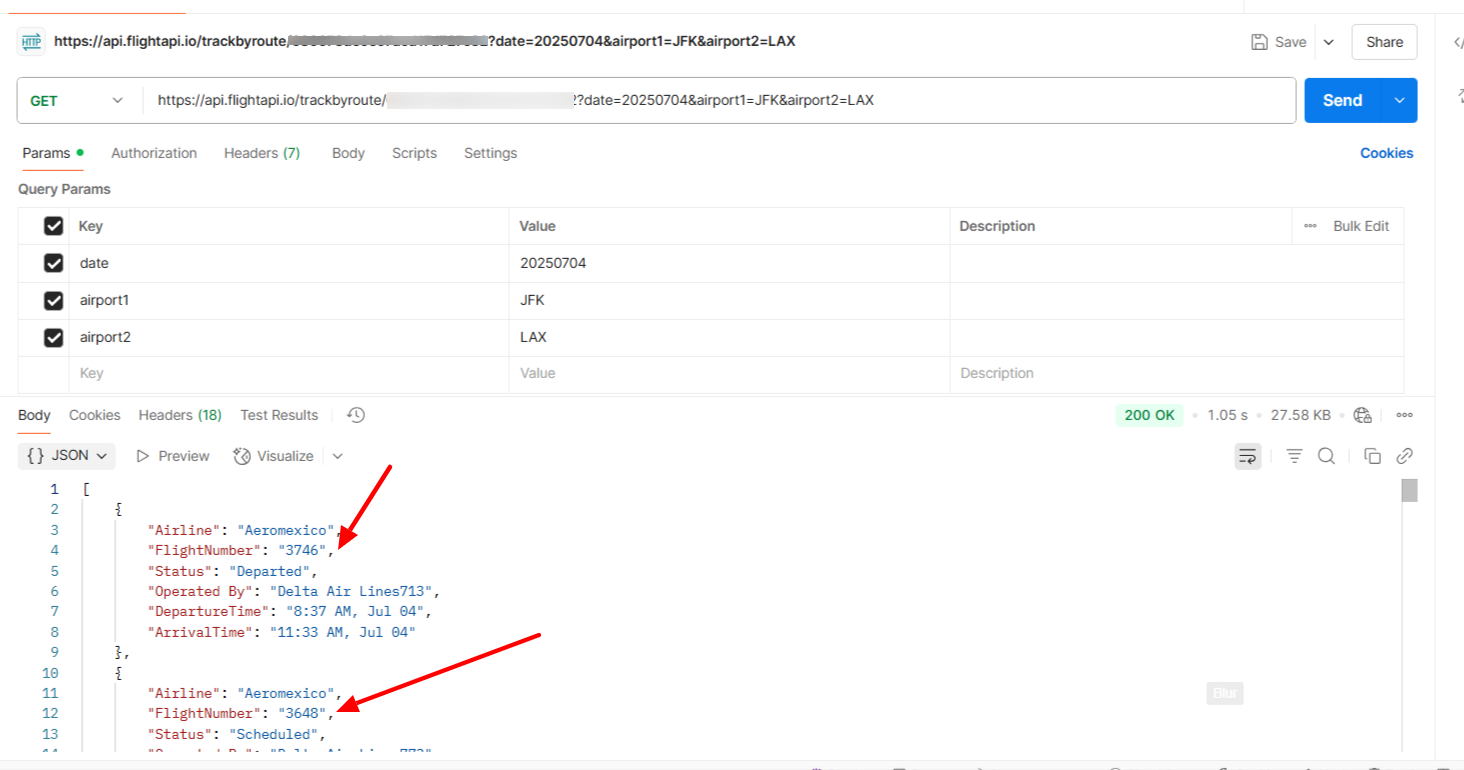
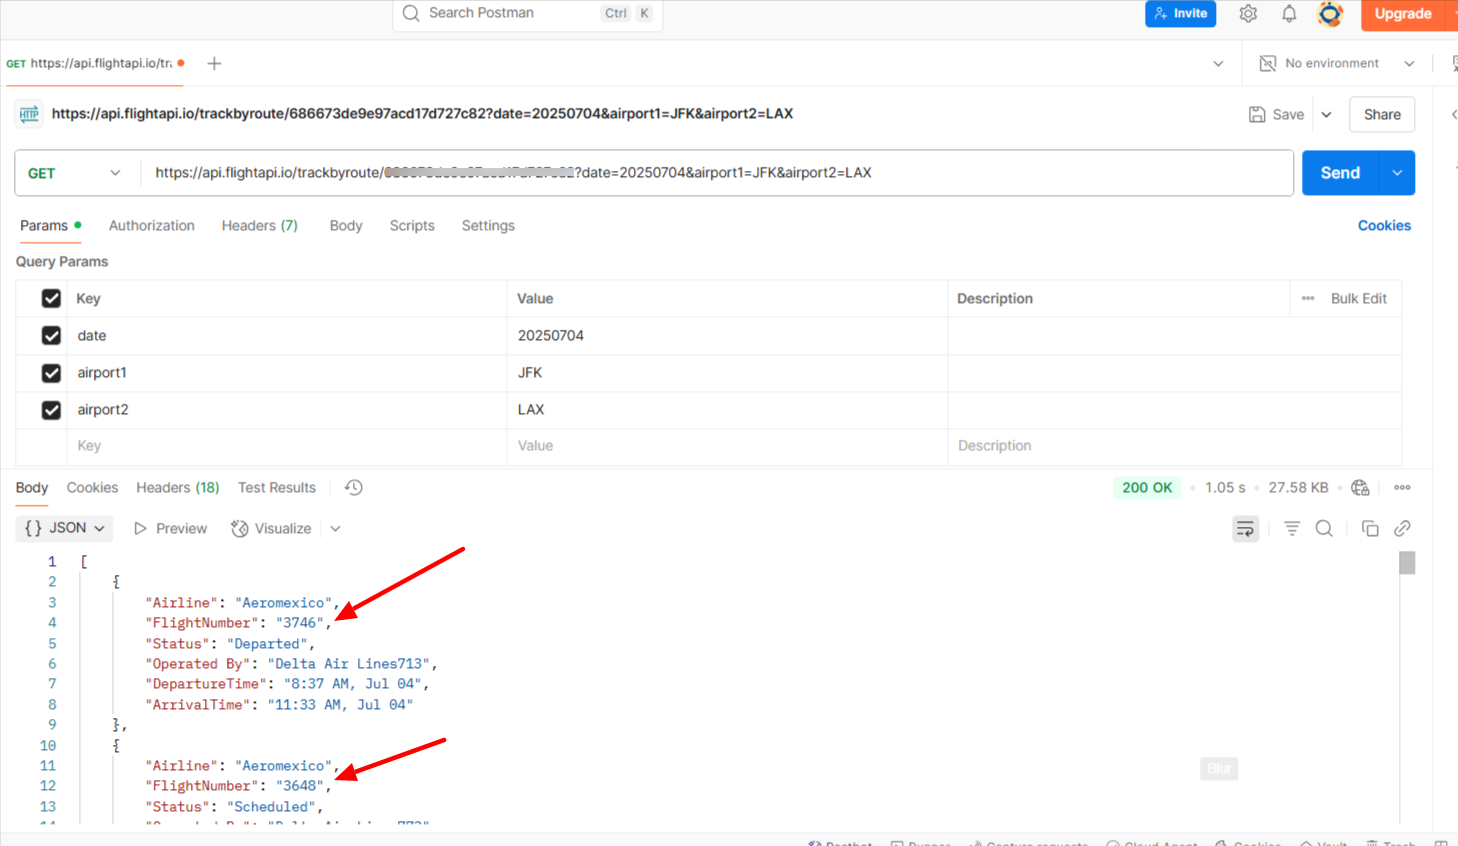
If you work with travel, manage bookings, or just like building useful side projects, there’s a good chance you’ve thought about tracking flights between two airports. Maybe you’re a developer who wants to create a tool, or you run a business that needs live flight updates. Either way, most solutions out there feel too complex or need a lot of code. But what if you could create your own flight tracking app, from scratch, with zero coding and no headaches? Seriously, you don’t have to be a programmer to do this. You just need a couple of accounts, a working internet connection, and a little patience. Let’s see how simple it can be. What You’ll Need Step 1: Get Your API Key Head to FlightAPI and sign up for an account. After you register, you’ll get a verification email. Click the link, and you’ll see your unique API key sitting there like it’s been waiting for you your whole life. Copy it somewhere safe. You’ll need it soon. As a bonus, your new account starts with 30 free API calls to help you get going. Step 2: Understand the API Endpoint and Test It Before you start, check out what kind of flight information you can get and how to ask for it. Take a quick look at the documentation page. You’ll see details on what you need for your requests, plus examples of the response you’ll get back. Here’s the endpoint you’ll use: For more details, check out the documentation. Step 3: Build an App with loveable Here’s where things get interesting. Sign up at loveable.app. The dashboard will feel familiar if you’ve ever chatted with an AI, ChatGPT, Gemini, or any other, but way more eager to code for you. Just start describing what you want: type in the chat about the API, share your design ideas (colors, layout, whatever floats your boat), and paste your API key in. The app generates a draft for you, and you can tweak it right there. If you change your mind about the look or need to add a new button, just say so, and it’ll handle it. It’s like having a coding intern who actually listens. Want to save even more time? I’ve got a ready-to-go prompt for you. (I’ve dropped it below, so you can just copy, add your api key in place of “api_key” adjust your details if you want to, and paste in loveable chat. Easy.) Prompt: Step 4: Test It and Fix What’s Needed Your app is live now. Go to your dashboard, fill in some airport codes, and see what comes back. But hold on, AI tools sometimes like to improvise, so let’s make sure everything works. To double-check, sign up for Postman if you haven’t already. Send a test request using the same airport codes. If the results from your app and Postman match, you’re set. If not, grab the response code from Postman, and let your AI helper at loveable know there’s an issue. It’ll analyze and fix things up for you. Step 5: Ready to Share You built it, you tested it, you fixed the errors. Now, show off your flight tracker! Loveable lets you use a custom domain, so you can put your app on the web with your address. Share it with friends, no code development, and the travel tech community, or even pitch it to your next client. If you have created this for a serious business, there are plenty of ways to turn your idea into something valuable. Wrapping Up In this blog, you learned how to build an app to track flights between any two airports using FlightAPI and loveable. FlightAPI also has other APIs, like flight status and flight price api, if you want to add more features to your projects. If you are aiming to bring your travel app idea to life in a digitally real mobile application, consider partnering with a trusted mobile app development company that can help you design scalable, high-performance applications tailored to your audience. Looking for more step-by-step guides? Thinking about more travel project ideas? There’s a list of the best travel APIs on the blog. Go see what grabs your attention. Sign up for FlightAPI today and start building your next travel tool.


,December 15, 2025
Finding reliable flight price data may seem simple until you actually start searching. Then you realize how crowded the space...